More Products coming soon!

10 Tips for Creating Perfect Machine Embroidery Fonts
2/2/20262 min read
Understanding Machine Embroidery Fonts
Creating stunning designs with machine embroidery is an exciting adventure! It's all about choosing the perfect fonts that bring your projects to life. Machine embroidery fonts can truly elevate your work, adding that special flair that makes your creations stand out. Let's dive into the incredible world of embroidery fonts and learn how to master them for spectacular results!
1. Choose the Right Font Style
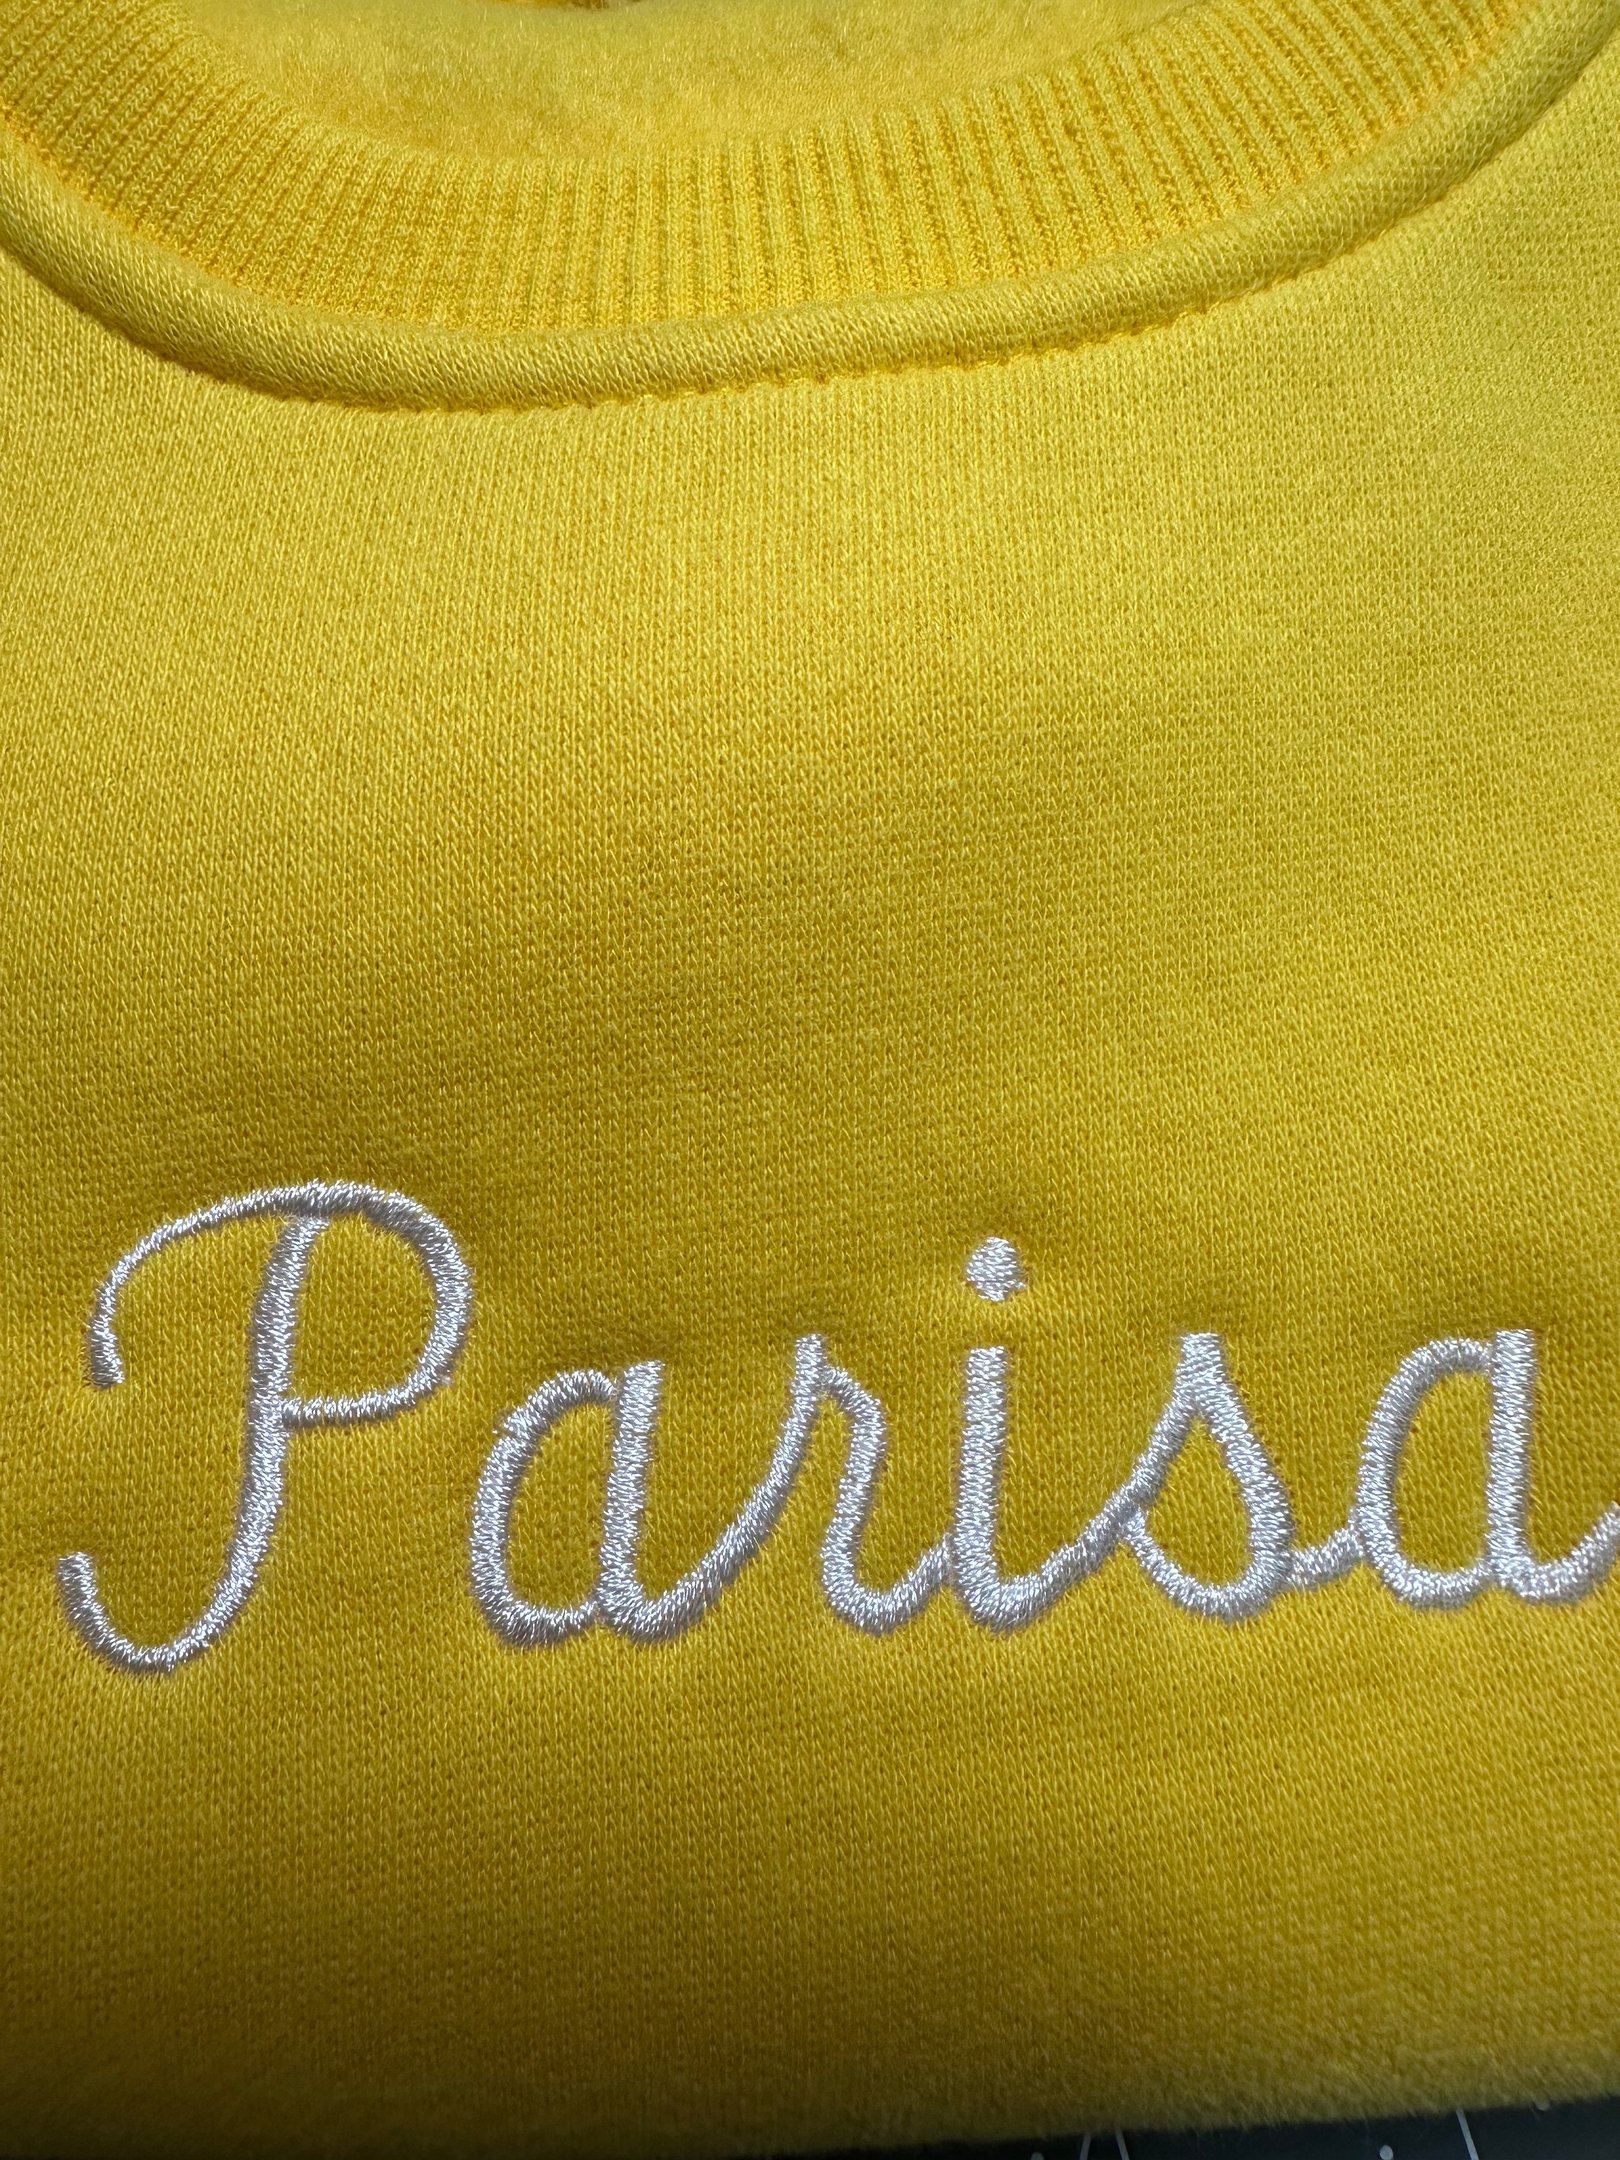
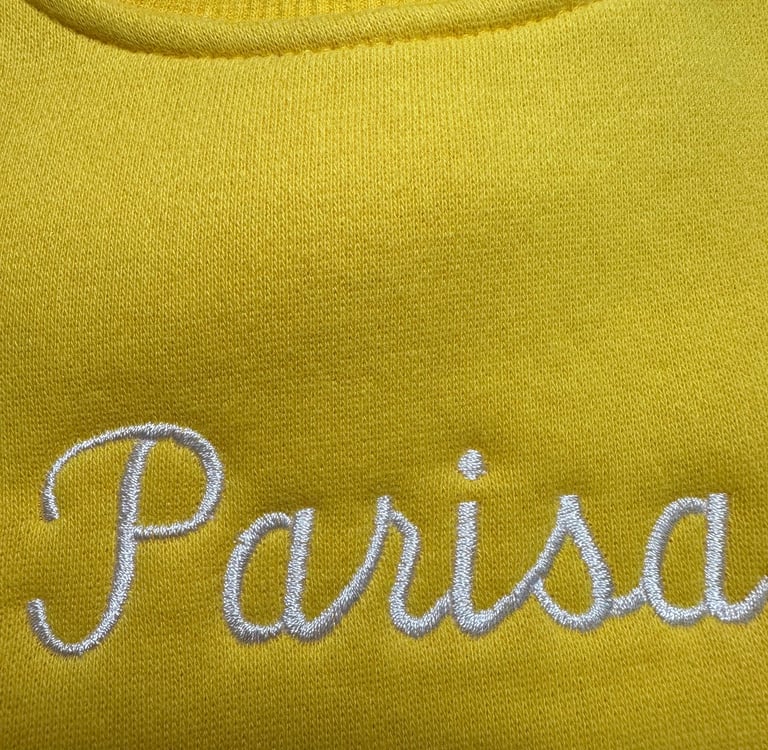
Start by picking a font style that complements your project! Cursive fonts might seem charming, but they can sometimes be tricky to embroider clearly. Instead, opt for bold block or sleek sans-serif fonts for exceptional visibility and clarity in your designs!
2. Size Matters
The size of your font plays a huge role in the success of your embroidery! Bigger fonts are often easier to sew and read, but be careful not to go overboard! Make sure your font dimensions fit beautifully with your overall design motif!
3. Density and Stitch Types
Different stitch densities can dramatically change the final look of your embroidery font! Have fun experimenting with various styles to discover the perfect balance. You want your text to shine without feeling overcrowded or sparse!
4. Test Before Committing
Always run a test sample before finalizing your design! It’s an awesome way to see how your selected font will look once embroidered, plus it gives you the chance to tweak any settings that could lead to hiccups during the exciting final process!
5. Use Vector Graphics
When creating or resizing your fonts, think about using vector graphics! Vector files maintain their clarity at any size, preventing distortion. This tip is a game changer for scaling your embroidery designs while keeping top-notch quality!
6. Consider Backing Choices
Choosing the right stabilizer is essential for embroidery success! A sturdy backing keeps your font sharp and legible; the wrong one, however, can cause puckering or distortion. Make sure to select the backing based on the fabric and font density you’re working with!
7. Simplify Complex Designs
When dealing with intricate fonts, simplifying them can work wonders! Too much detail can complicate the stitching process and reduce readability. Keep it straightforward for the best effectiveness and beautiful results!
8. Contrast is Key
Select colors that contrast brilliantly with the fabric! A high contrast between font color and fabric color enhances visibility and makes your design pop! Avoid blending in too much; otherwise, your text may just disappear!
9. Embroidery Software Magic
Harness the power of embroidery software to tweak font attributes! This amazing technology lets you effortlessly refine settings like stitch type, density, and size, taking your designs to a whole new level and giving them that professional polish!
10. Keep Practicing!
Lastly, remember that practice makes perfect! The more machine embroidery fonts you create, the better you will understand their nuances. Experiment with various styles, sizes, and techniques to discover what works best for you. Enjoy every moment of this creative journey!
By following these tips, you can craft machine embroidery fonts that not only look fantastic but also enhance your overall projects. Happy stitching!